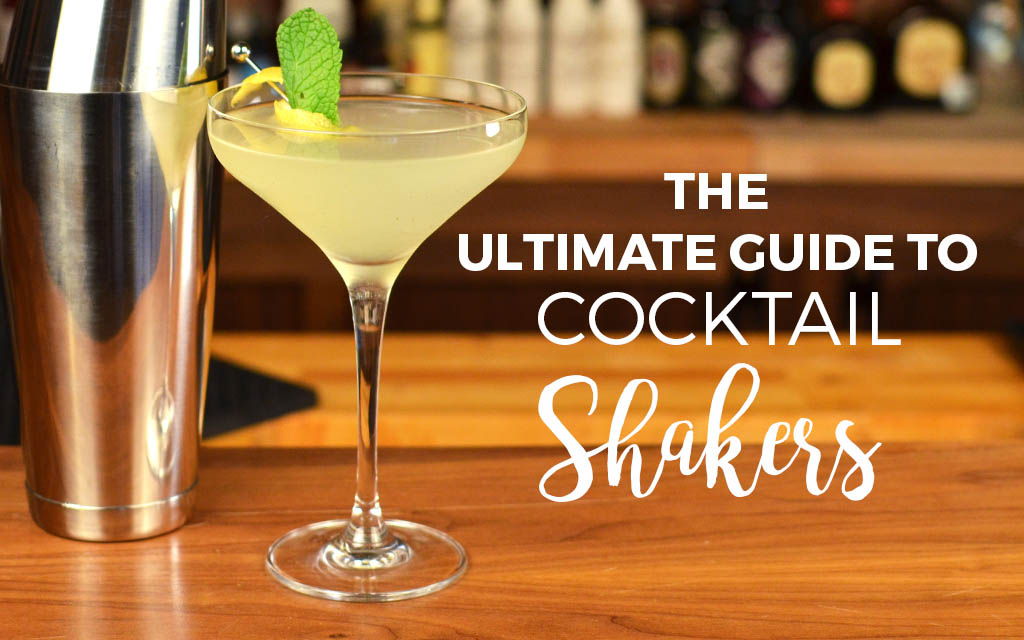
Ah, the Cocktail Shaker.
It’s the quintessential image of a bartender: Cocktail shaker in one hand and bar towel in the other. But what is the story behind this fairly specific bar tool, and how do you choose the best cocktail shaker for you? This guide will give you all the information you need to get started.
Check out the links below if you want to jump ahead, or read on!
Cutting to the chase: Here’s the Shaker We Recommend
If you’re just looking for our recommendation, here it is!
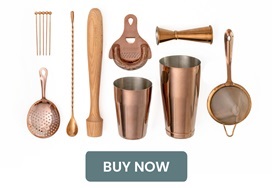
Stainless Steel Boston Shaker Set
This is my ideal Boston shaker combination. The larger tin is weighted to add rigidity but the smaller is unweighted to give the best seal. We designed this shaker to be the perfect shaker for the busiest bartender – durable, easy to use, and easy to open every time (without losing a drop!)
This is our recommendation because we literally designed it ourselves. For more detail on why this is our choice, scroll down or click this jump link!
The Basics: What’s a Cocktail Shaker?
While we’ve probably all seen a picture of what a cocktail shaker looks like, (if not – you’re in luck, there are a lot of those images in this post!), it’s worth taking a second to go over the basics. A cocktail shaker is a special tool designed to do Three things:
It Thoroughly Mixes Cold Beverages:
If you’ve ever tried mixing sugar into your iced tea, you’ve probably noticed you had to stir for-ev-er before it’d finally dissolve. That’s a problem bartenders face all the time – cold ingredients take more effort to mix together. The cocktail shaker evolved as a great tool to expedite the stirring process behind the bar and (let’s not forget) look pretty awesome while doing it.
The reason? All of that ice in the shaker acts a bit like a “blender ball”. As a result, your liquid moves around a whole lot more than it would with just a spoon. More movement results in faster mixing.
It will Chill a Drink Super Fast:
While you’re stirring away on your iced tea, that bartender has already finished three cocktails and probably cleaned the bar as well. Cocktail shakers are extremely good at making lukewarm ingredients (like booze) really cold and really fast.
Why? While that ice is acting as a blender ball to help mix ingredients together, it’s also chilling down the ingredients as they pass by. Shaking the cocktail makes the ingredients pass over the ice much more frequently and the ice breaks into smaller pieces, offering more cold surface area. The result? One very cold drink, and very quickly!
It Helps to Quickly Dilute the Drink
Wait, what? Like, on purpose? Yep, it’s a little known fact that cocktails actually need to be diluted in order to taste right. In fact if you followed a cocktail recipe exactly and excluded the ice, mixed it all together really thoroughly and put it in the fridge to cool down, you’d find it probably tastes much too strong.
That’s because every cocktail recipe assumes 25-40% water dilution as a result of shaking. (Note: it’s actually more complicated than that and if you’re into nerdy cocktail science, you should totally read this.)
A Brief History of the Cocktail Shaker
If you think of a cocktail shaker as a “container used to mix a liquid” then you can argue that they have been in use for thousands of years. “The cocktail shaker can be traced to 7000 BCE in prehispanic Mexico and South America, where the jar gourd was used as a closed container.” (Source) But as a tool behind the bar, it’s much more recent.
Until the mid 1800’s, bartenders often mixed drinks by pouring them between who cups. Rumor has it an Innkeeper decided to make “a bit of a show” by placing a smaller cup inside the larger and shaking. The new method became much more common throughout the remainder of the 19th century and spurred quite a few patents related to this new style of mixing drinks. (The first I could find is this lovely “apparatus for mixing drinks” by W. Harnett – dated 1872.
Novelty cocktail shakers became popular in the early 1900’s, but not surprisingly their use dropped dramatically during prohibition, and again during the war effort of the 1940’s (as metal production was all but reserved for the war effort.) After the 1950’s, cocktail shakers regained popularity and became much more commonplace in the home.
How to Choose the Best Cocktail Shaker for You
If you’ve spent any time shopping for cocktail shakers you may have noticed there are several different styles available. The three most common are the Boston Shaker, the Cobbler Shaker, and the (much less common) French Shaker. You may have also seen novelty shakers (in the shape of penguins, airplanes, etc.).
How do you know what’s best for you? We’ll take a deeper look at the three most common styles below and their benefits and drawbacks.

The Boston Shaker
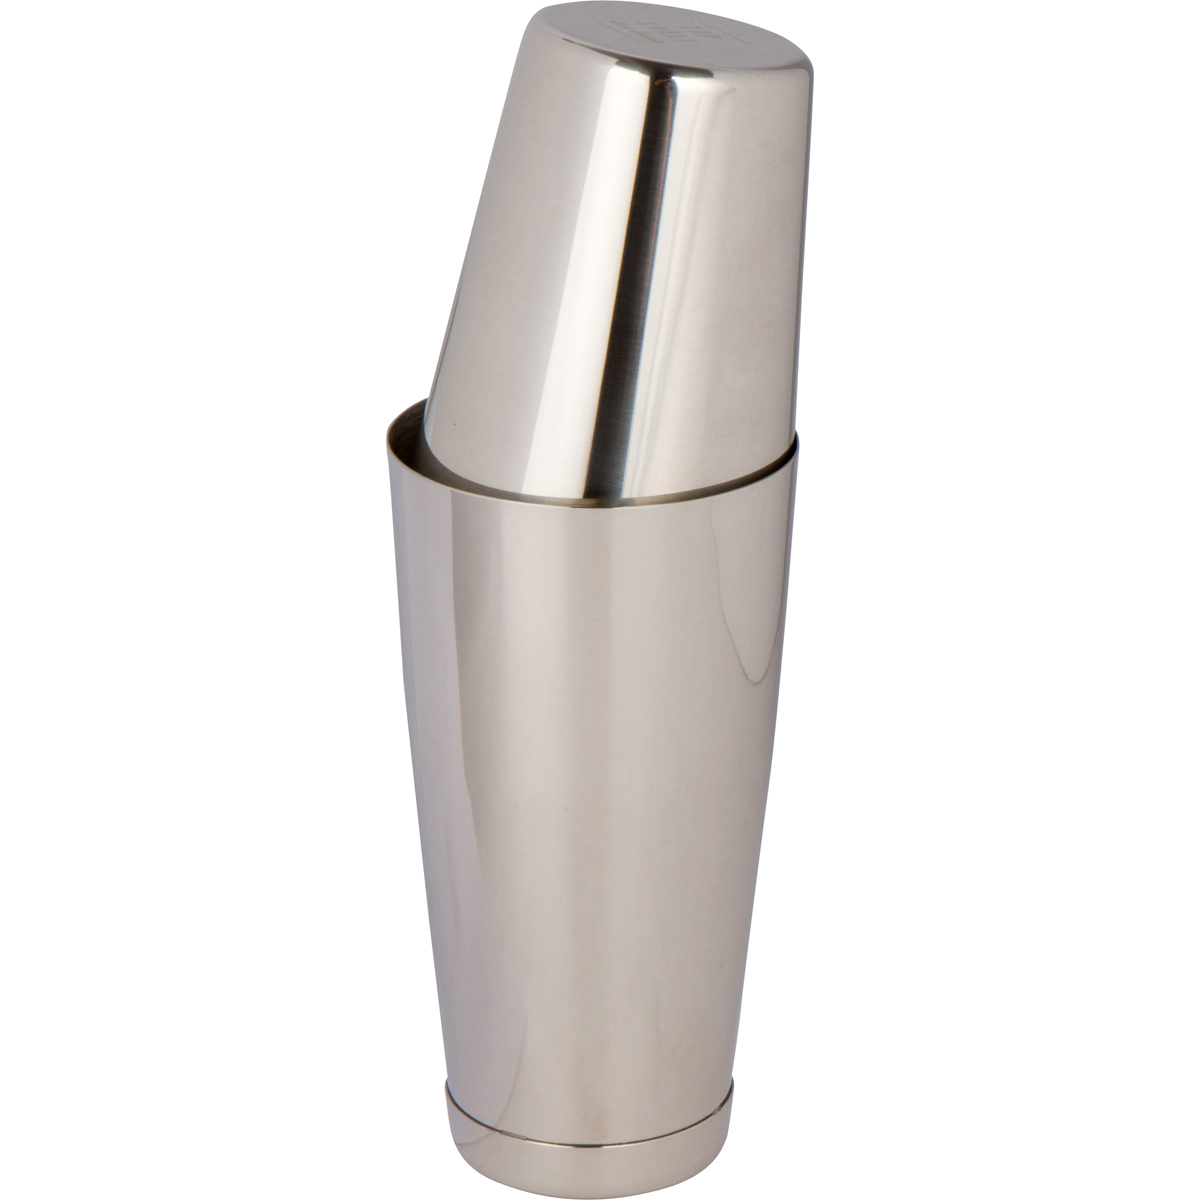
Perhaps the most common choice behind professional and high volume bars, the Boston Shaker isn’t a far cry from the innkeeper’s inspiration way back in the 19th century. Two separate cups are sealed together by placing the larger upside down over the smaller and sealing with a “whack” (see “How to Shake a Cocktail” below.)
Boston Shaker Styles and Types:
- Boston shakers may have two steel cups or one steel and one glass. Steel is (not surprisingly) more durable and won’t risk breakage.
- One or both of the steel cups may be “weighted” (which you can see on the larger cup in the image above.) The weight adds rigidity and some weight to the shaker cup and can make the shaker more comfortable and quieter to use.
Benefits of the Boston Shaker:
- The Boston Shaker will not get stuck closed. This is unlike the cobbler shaker, which is renowned for getting stuck shut – but it’s usually only an issue after you’ve made a drink or two in the shaker and it’s become quite cold.
- With some practice, it’s very quick and easy to seal and reopen.
- Simple two-cup construction is very easy to clean.
Downsides of the Boston Shaker:
- The biggest downside of the Boston Shaker is that you will need a separate strainer – there isn’t one built in like the Cobbler shaker. That said, the built-in strainer on the Cobbler shaker isn’t usually very good either – so it’s likely you may want to strain separately anyway.
- This style of shaker also can take a bit of practice, but not enough (in my opinion) to become a deterrent.
- For Boston Shakers with a glass cup there is the added risk of glass breakage
Verdict: The Boston Shaker is a great choice if you’re going to make cocktails with some degree of frequency.
It’s easy enough for beginners to figure out relatively quickly but timeless enough to work for the busiest bartender. Do plan to buy a separate Hawthorne Strainer as well.
If you’re looking for a recommendation, I’d definitely suggest our very own Stainless Steel Boston Shaker Set. The all-steel shaker won’t break and is (in our opinion) the best combination of size and weight. (Check out the reviews on Amazon, we are not alone!
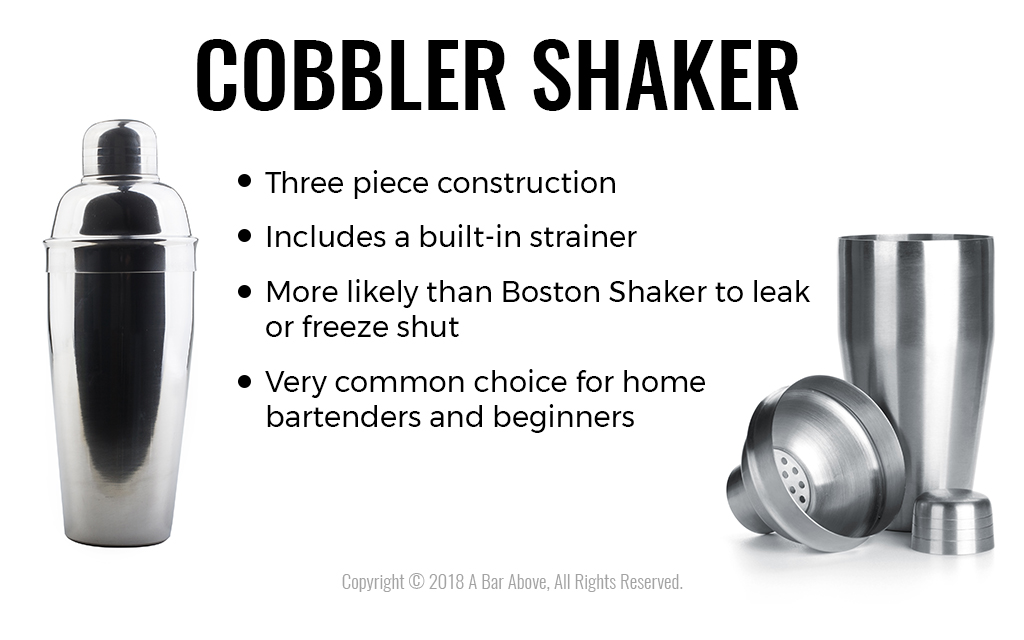
The Cobbler Shaker
When most people think of a cocktail shaker, this is what they are thinking of. With its iconic shape and three-piece construction it is definitely the type you’re most likely to find at consumer kitchen stores or in a home bar. The shaker includes a metal cup with a cap that has its own strainer built in – and a small cap that goes on top of that to hold the liquid in while shaking.
Benefits of the Cobbler Shaker
- The Cobbler shaker is definitely the most “beginner friendly” of the shakers. It’s easy to put together and (usually) open up again, and includes a strainer in the cap so you won’t need to buy one of those too.
- As I mentioned, you won’t need to buy a strainer separately.
Drawbacks of the Cobbler Shaker
- Since the cobbler shaker’s two metal pieces are simply “placed” together rather than tightly sealed, it is prone to leaking.
- Similarly, when water gets between the cap and the cup, it often freezes, making it extremely difficult to get the shaker open. This is most common if you’re using the shaker many times in quick succession, as it’ll get the metal really, really cold.
- The built-in strainer is really not that great. I’ve yet to see a cobbler shaker with a decent strainer built in – usually they have massive holes, resulting in a drink with pieces of ice and fruit pulp mixed in.
- You’ll want to remember to hold on to that little cap at the top while you’re shaking – if not, it can fly off and give the person behind you a nice shower. (Been there, done that!)
Verdict: In my opinion, the drawbacks outweigh the benefits of the Cobbler shaker.
Unless you’re only planning to make cocktails maybe once a year, and never more than one at a time, in which case go for it. Otherwise, consider investing in the Boston Shaker, as it will continue to work as you get better at bartending and will never leak or get stuck closed.
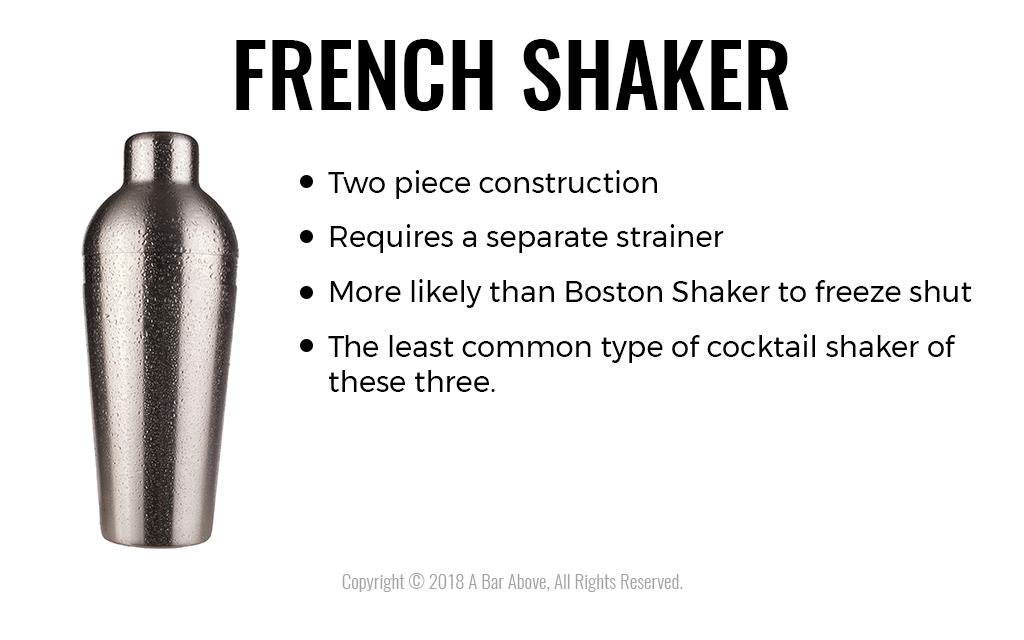
The French Shaker
The French Shaker is by far the least common of the three cocktail shaker types. (So uncommon that I had a hard time finding a good picture we could use! They usually look more like this.) Like a halfway point between the Cobbler Shaker and the Boston Shaker, the French shaker is also (in my humble opinion) the best looking of the three.
Benefits of the French Shaker
- While not true with every French shaker I’ve seen, usually the cap of the french shaker sits inside the cup, which gives it a better seal than the Cobbler shaker and makes it less likely to freeze shut. (Admittedly this is not always true – some have a similar design as the Cobbler shaker and will have the same issues.
- Beautiful! This style of shaker is arguably the classiest looking, (at least in my opinion)
Drawbacks of the French Shaker
- Like the Boston Shaker, the French Shaker is only two pieces and doesn’t include a strainer.
- Can take a bit of practice, again, like the Boston Shaker
- Can be quite difficult to find, especially in consumer stores.
Verdict: A second choice to the Boston Shaker, but still a good one. That is, if you can find it!
How to Shake a Cocktail
Yes, it is possible to shake a cocktail without looking ridiculous. And yeah, it can take some practice. (But really, looking ridiculous is half the fun!) Here’s a brief intro to shaking a cocktail, thanks to our lovely model (and experienced bartender) Chris!
1. Add your Ingredients
Add your ingredients first, then ice to your shaker cup. (If using a Boston Shaker, use the smaller cup.) Fill approximately 2/3 full with ice.

2. Close Your Shaker
If you have a cobbler shaker, you can simply put the cap on. With a Boston Shaker or (most) French shakers, you’ll want to invert the other cup, place it on top and give it a whack to make an airtight seal.

3. Hold on Tight!
This may sound obvious, but many experienced bartenders will admit to making this mistake. Be sure to hold on tightly to all components of your shaker, even if you need two hands.
If you’re using a Cobbler shaker, hold on to the cup and lid with your hand and use your index finger to hold the smaller (top) cap on. If using a Boston shaker or French Shaker, be sure you are shaking with the smaller side facing behind you. This is to protect against the unlikely scenario where the seal breaks open – you’re not going to shower your guests in their next cocktail order. (You will, however, make a real mess of the bar!)

4. Shake shake shake!
Now’s the fun part: give it a shake! At first it’ll feel awkward, but with some practice you’ll feel like a pro. A few tips:
- Feel free to use both hands. Most people start with two hands until they have some experience, and many bartenders always use two hands!
- Shake it like you mean it! You’ll want to hear the liquid and ice hitting the top of the shaker with every shake.
- Give it at least 15-20 seconds. A good rule of thumb is to shake until you start to see condensation on the outside of the shaker. (Note: unless you live in a humid environment, which may cause condensation right away!)

5. Open it up!
If you’re using a Cobbler Shaker, just go ahead and take the smaller cap off. (Hopefully it won’t stick!). If you’re using a cobbler or French shaker, give it a whack! (Look for on the side where the two cups are not parallel.) If you’re new to this, it may take a few whacks but you’ll get the hang of it.
Once it’s open, you can strain it into your glass, either using the built-in strainer in your cobbler shaker or a Hawthorne Strainer placed into the top of the Boston or French shaker.
Voila! You’ve shaken your first cocktail. Congrats!

Shaking Two Cocktails at Once
By the way, if you’re already past this point and interested in shaking two cocktail shakers at the same time, here’s an old school video we did demonstrating that technique as well!
Cocktail Shaker Alternatives: How to Improvise if you don’t own a shaker
Let’s face it: not everybody owns a cocktail shaker, and that’s OK! If you’re just starting to experiment with making your own cocktails, you may want to give it a try before investing in the equipment. I totally get it.
You can get 80% of the way there by simply putting your ingredients into any sealable container with ice and giving it a shake. (If possible, I’d recommend avoiding glass because it may not be strong enough to withstand the combination of quick temperature change plus the friction of the ice hitting the inside of the container. ) Aim for a container at least ~30oz in size and fill it at least half full with ice. And be sure to affix the top very tightly – you’d be surprised how much pressure can build inside a cocktail shaker!
When it’s time to strain, you can get away with any regular kitchen strainer. Again, it may not strain as well as the best Hawthorne Strainer, but it will get you 90% of the way there, which will probably be enough to see if you enjoy bartending enough to invest in your own tools!
The Shaker We Recommend:
After years behind the bar, Chris was annoyed that he couldn’t find the exact Boston Shaker he wanted. So we teamed up and designed it ourselves. In our opinion, this shaker is the best possible combination of size, flexibility and ease of use. Are we biased? Yeah, a bit. But I think you’ll find the reviews on Amazon agree!
Stainless Steel Boston Shaker Set
This is my ideal Boston shaker combination. The larger tin is weighted to add rigidity but the smaller is unweighted to give the best seal. We designed this shaker to be the perfect shaker for the busiest bartender – durable, easy to use, and easy to open every time (without losing a drop!)




I like my drinks so completely ice-cold that I cannot even bare to hold the shaker for a second longer. I’ve found a thermal good-grip shaker by Oxo that has quickly become my favorite. Thanks for the tips. What a thorough article on cocktail shaking and straining!
Follow me on Google
https://plus.google.com/+RobDelisa